4 min read
How to Screen Record on a Mac: Free Built-In Tools, Then a Polished Video
How to screen record on a Mac with the built-in ⇧⌘5 toolbar and QuickTime, how to include sound, and how to edit, caption and post it to YouTube.
- screen-recording
- mac
- how-to
KEY TAKEAWAYS
- Press ⇧⌘5, choose Record Entire Screen or Record Selected Portion, and click Record. Stop from the menu bar.
- The built-in recorder takes a microphone; to record the Mac's own sound, use an app that captures system audio.
- To zoom on clicks, add captions and post to YouTube without exporting and re-uploading, finish the recording in an editor such as FramioCam for Mac.
Every Mac can record its screen without installing anything. This guide covers the built-in way first, then what to do when you need the recording to look finished and land on YouTube.
Method 1: The Screenshot toolbar (⇧⌘5)
- Press Shift–Command–5 (⇧⌘5). A toolbar appears at the bottom of the screen.
- Choose Record Entire Screen or Record Selected Portion. For a portion, drag the frame around what you want to show.
- Open Options to pick a microphone, a timer, where the file is saved, and whether to show mouse clicks.
- Click Record.
- To stop, click the Stop button in the menu bar, or press ⌃⌘Esc (Control–Command–Escape).
The recording appears as a thumbnail in the corner of the screen. Click it to trim, or leave it and it saves to the location you chose.
The first time, macOS may ask you to allow screen recording in System Settings › Privacy & Security.
Method 2: QuickTime Player
Open QuickTime Player and choose File › New Screen Recording. You get the same toolbar as ⇧⌘5. After recording, QuickTime opens the file, and Edit › Trim cuts the start and end.
Recording with sound
The built-in toolbar records the microphone you choose in Options. It doesn’t offer a switch for the Mac’s own sound, such as a video’s audio or app alerts. For that, use a recorder that captures system audio. FramioCam for Mac, for example, records system audio, your microphone and your camera together.
Method 3: Record and finish it in FramioCam for Mac
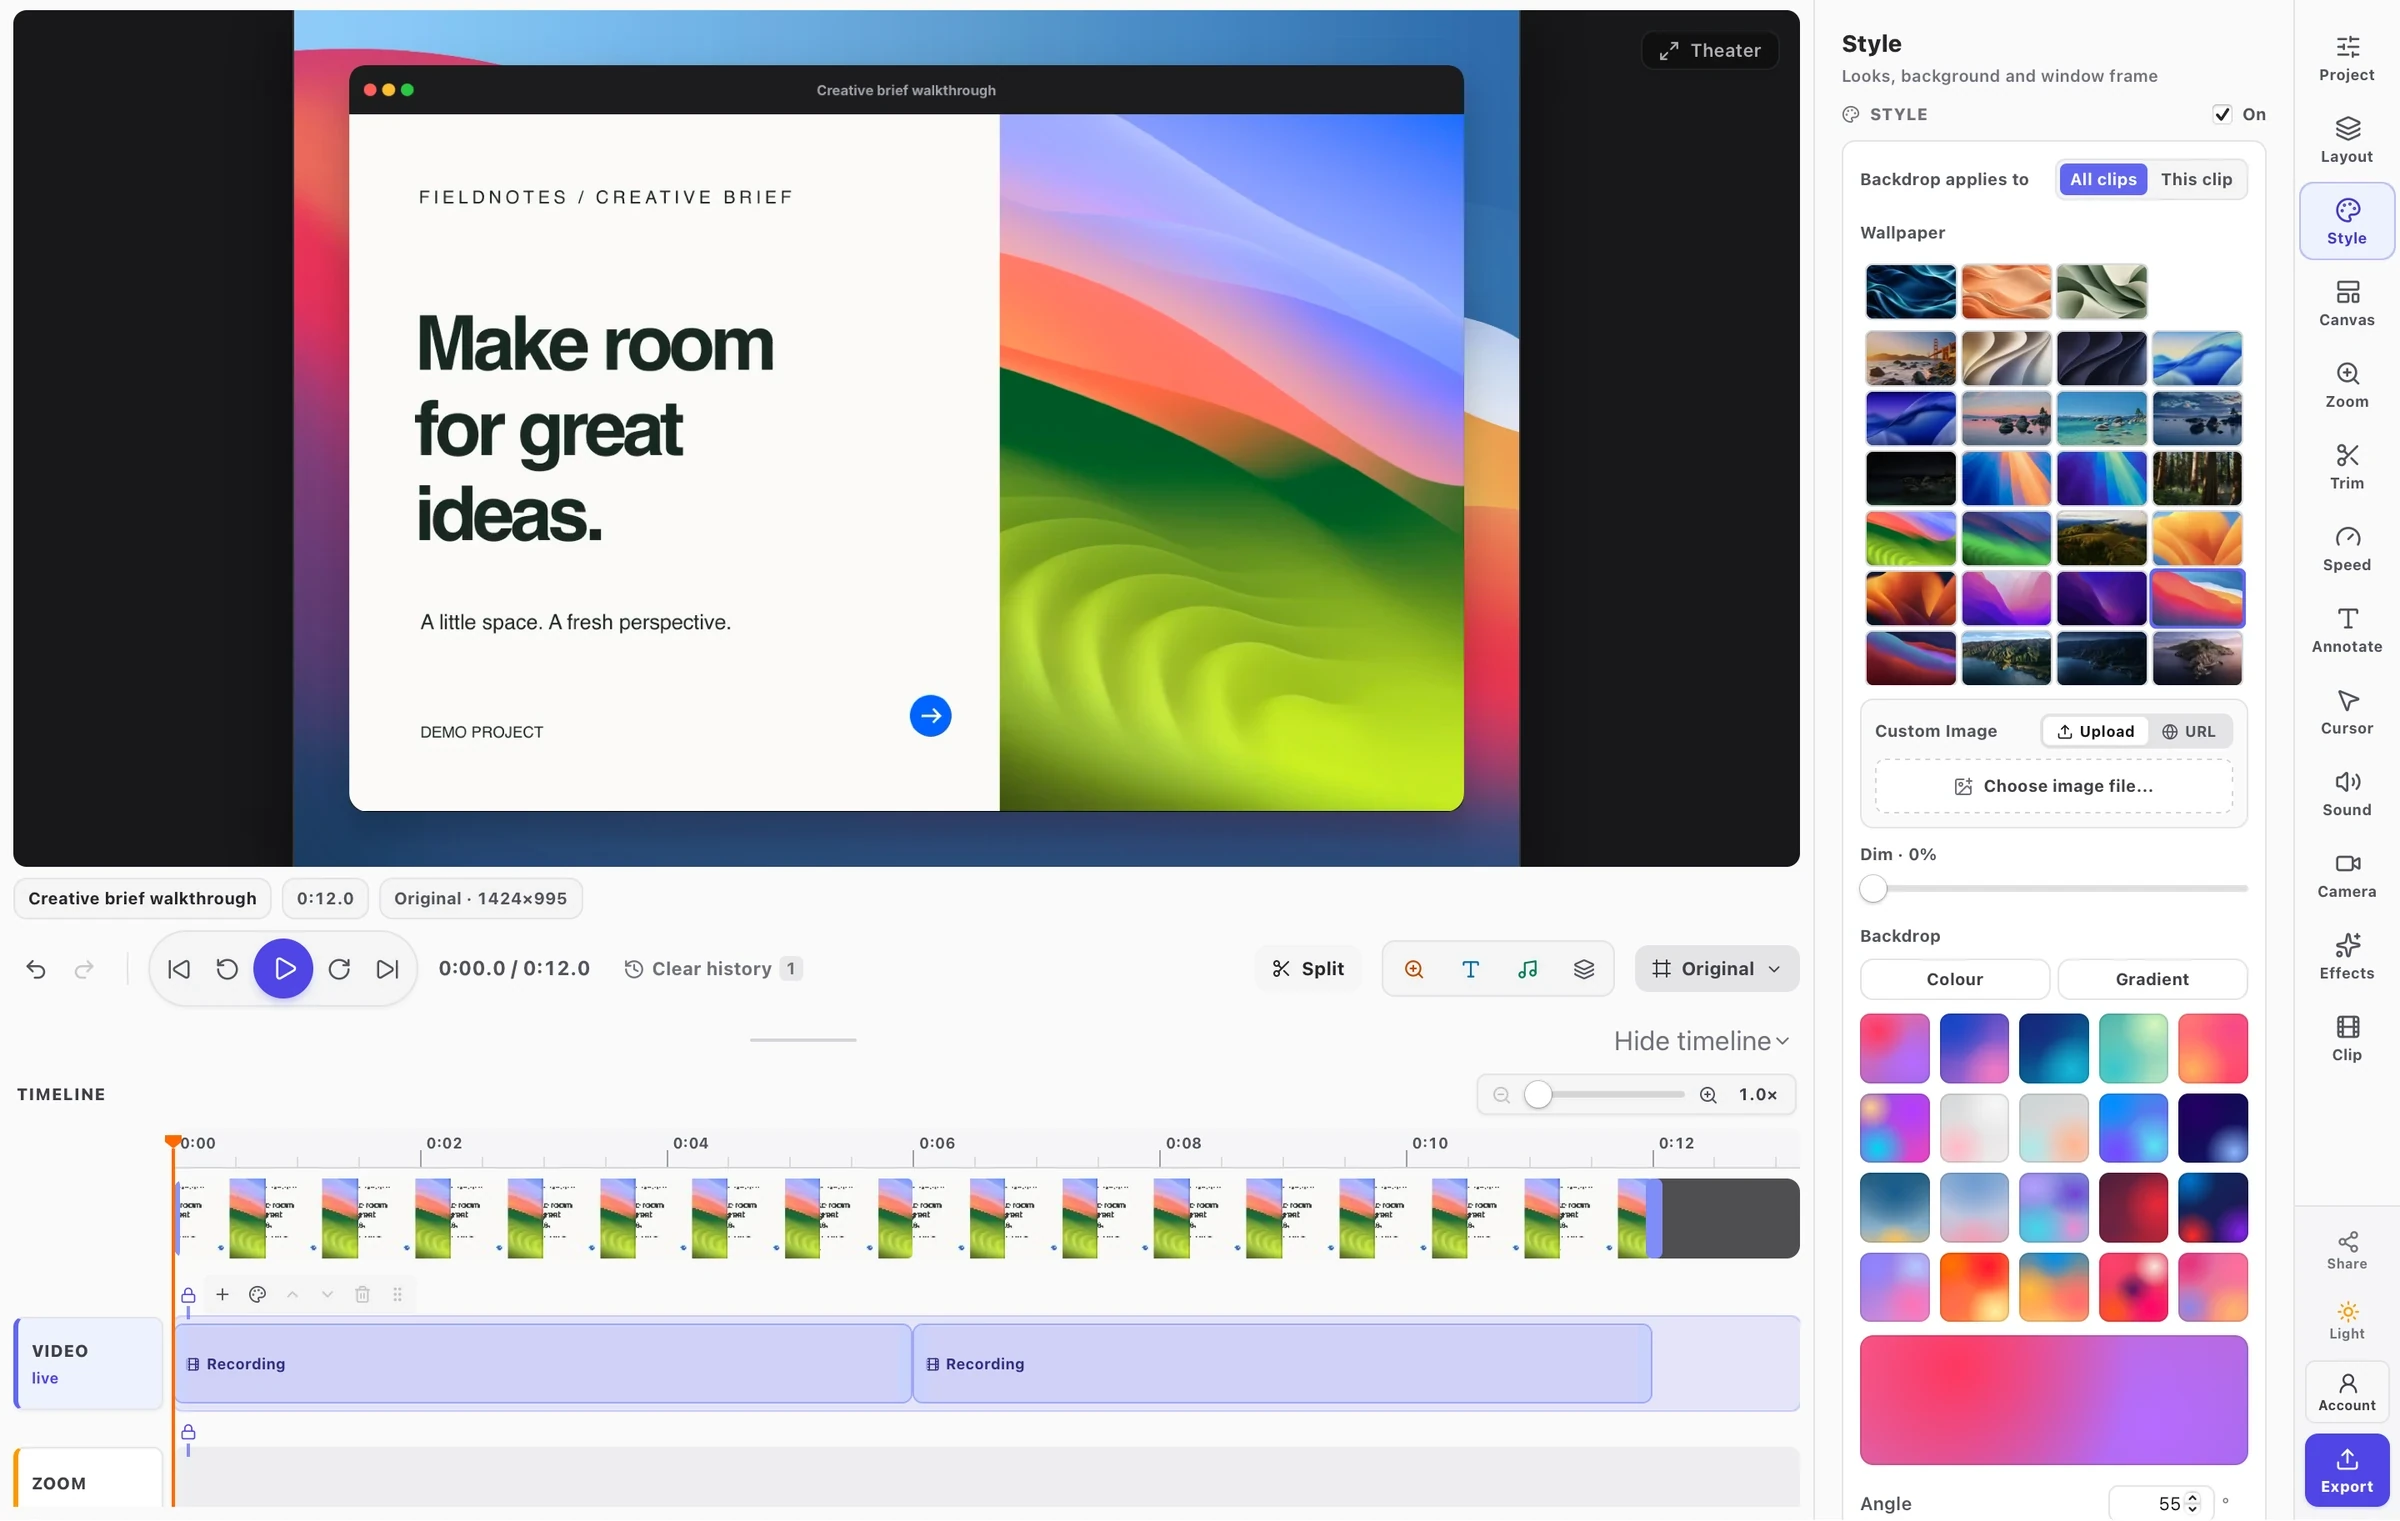
The built-in tools give you a raw file. If the recording is going to customers, students or a YouTube channel, you’ll usually want zooms, captions and a cleaner frame. FramioCam for Mac does that in one app:
- Record a display, a window or an area, with camera, microphone and system audio as you choose.
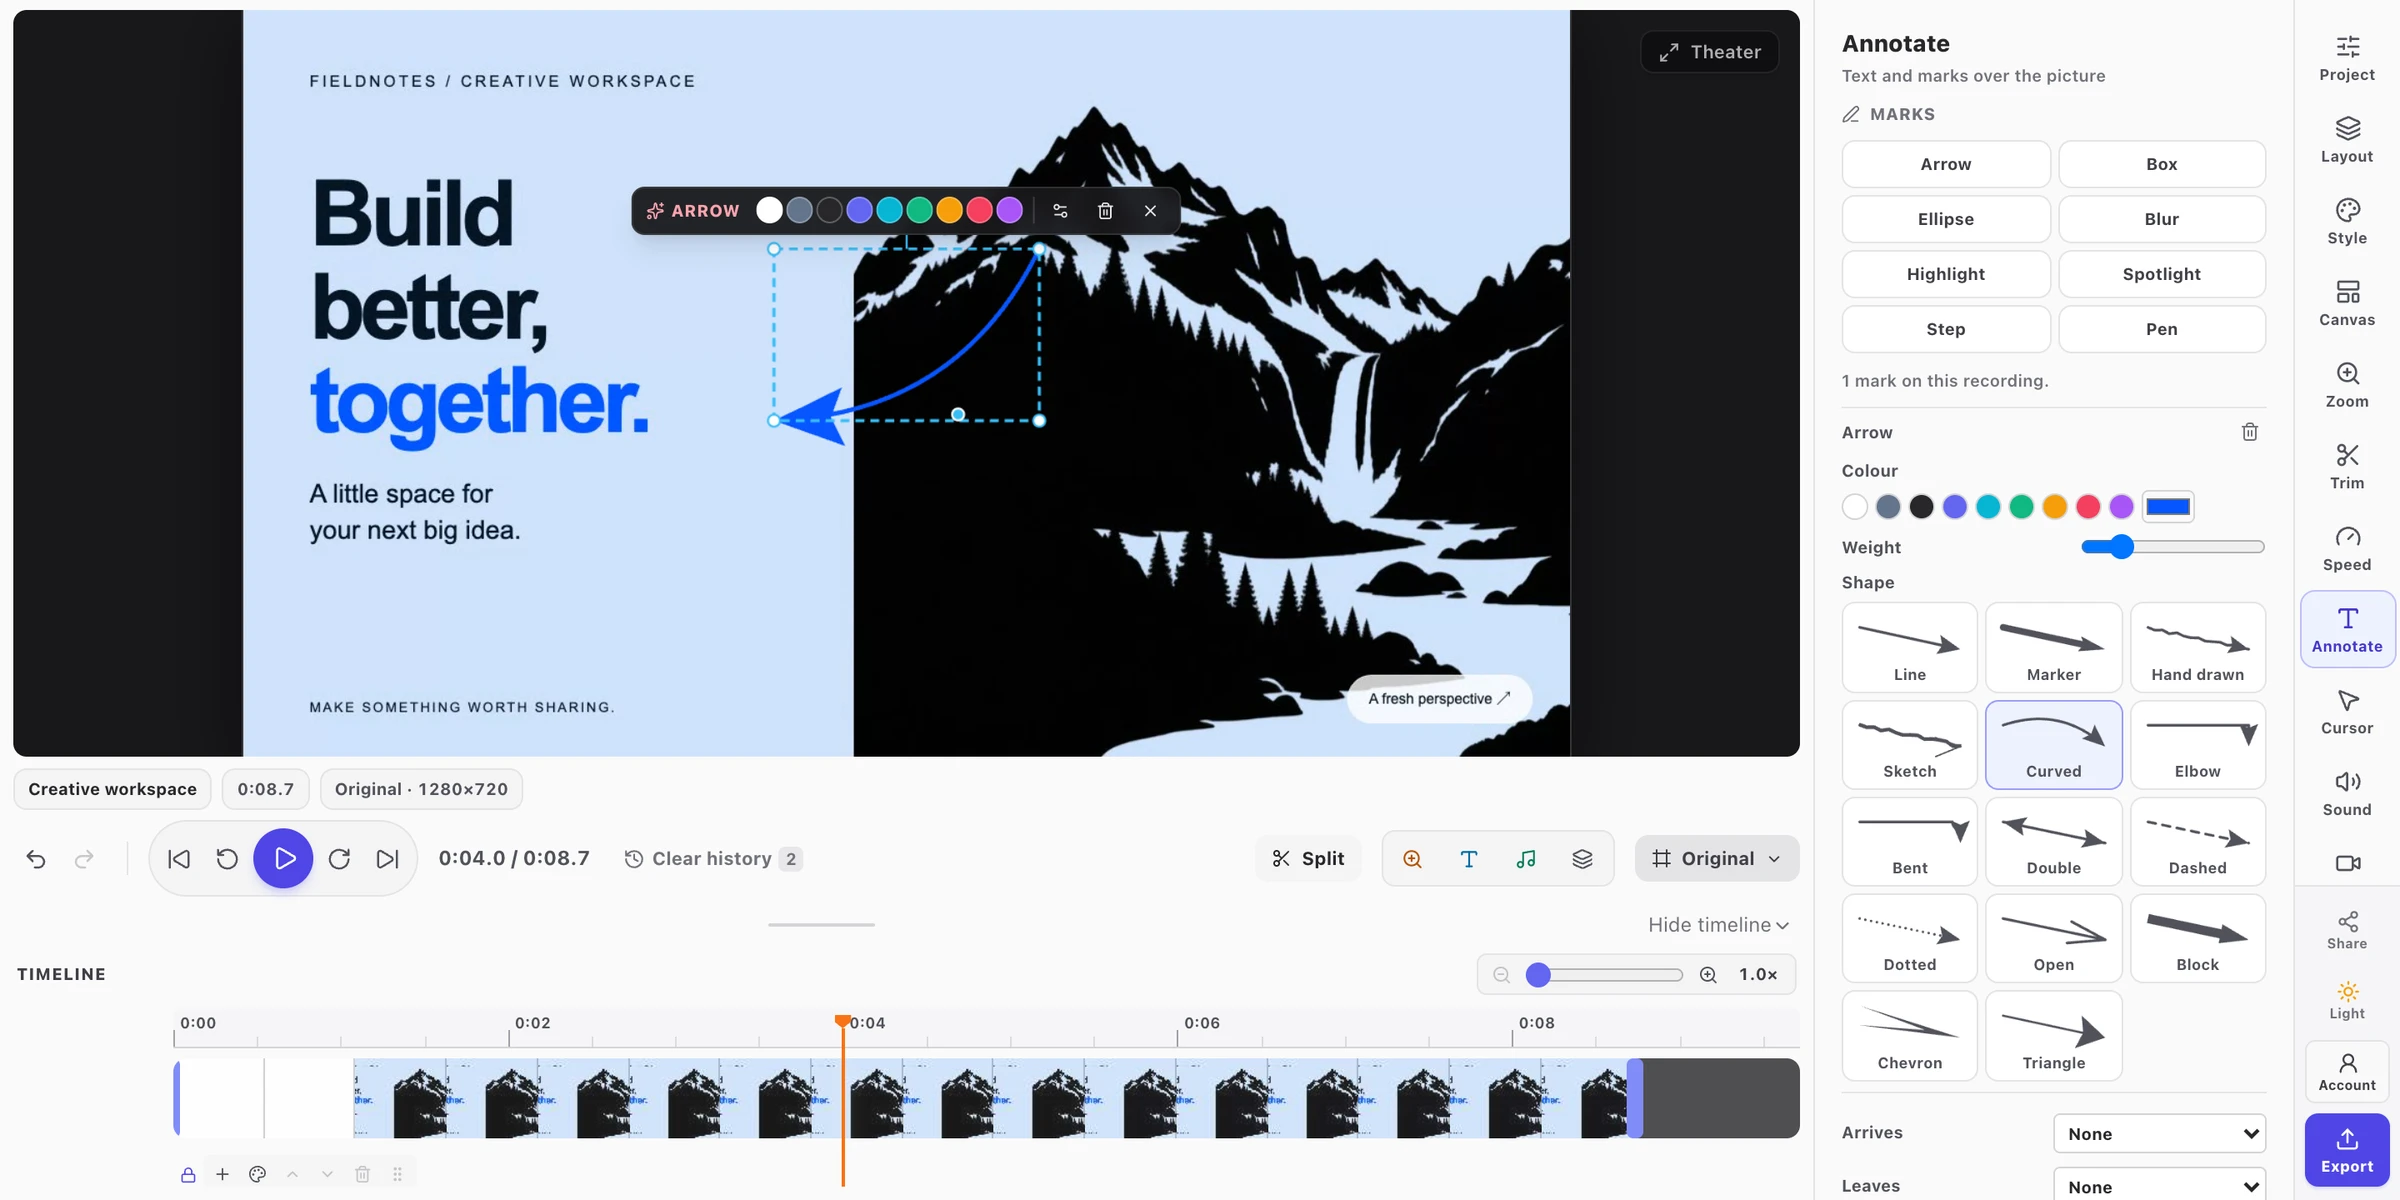
- Polish it on the timeline. Zooms are made from your clicks; cut the pauses, add arrows, blur private details, and set a backdrop.
- Caption it on your Mac. macOS transcribes the speech on-device, so your audio isn’t uploaded. Style the captions or download SRT and VTT.
- Publish to a YouTube channel or Facebook Page from the editor, now or on a schedule, instead of exporting and uploading it again. Or export MP4, WebM or GIF.
FramioCam for Mac is free to download with watermarked exports; Mac Pro is one payment and adds publishing, 4K and clean exports. It needs an Apple silicon Mac on macOS 14 or later, and macOS 15 to record.
Method 4: Ask your AI assistant to record it
If you use Claude, Codex or Cursor, you can skip the clicking. FramioCam for Mac ships an MCP server: connect your assistant once, then ask, for example, “Record a walkthrough of our signup page in Chrome, zoom in on each click, add captions and export an MP4.” The assistant drives the browser with its own tools while FramioCam records and edits. Set it up.
Which method should you use?
| You want… | Use |
|---|---|
| A quick clip for a colleague | ⇧⌘5 |
| To trim the ends | QuickTime Player |
| The Mac’s own sound in the recording | An app with system audio, such as FramioCam for Mac |
| Zooms, captions and a polished frame | FramioCam for Mac |
| To post it to YouTube or Facebook | FramioCam for Mac’s Publish |
| Your AI assistant to make it | FramioCam for Mac over MCP |
Comparing recorders? See the best screen recorders for Mac.
FAQ
What is the shortcut to screen record on a Mac? Shift–Command–5 (⇧⌘5) opens the Screenshot toolbar with recording options.
How do I stop a screen recording on a Mac? Click the Stop button in the menu bar, or press Control–Command–Escape.
Where do Mac screen recordings save? To the location set in the toolbar’s Options, the Desktop by default.
How do I screen record on a Mac with internal audio? The built-in recorder doesn’t capture the Mac’s own sound. Use a recorder that supports system audio, such as FramioCam for Mac.
Can I upload a Mac screen recording straight to YouTube? With FramioCam for Mac, yes: publish from the editor to a connected YouTube channel, now or on a schedule.
Download FramioCam for Mac free and record your first walkthrough.