9 min read
Cutting Course Footage Into Chapters Without a Separate Video Editor
Plan screen recording for online courses around clear lessons. Map chapters, trim mistakes, export separate videos and check captions before publishing.
- how-to
- course-creators
- screen-recording
- video-editing
KEY TAKEAWAYS
- Choose chapter boundaries around learning outcomes, then cut at complete sentences and stable screen states.
- A timeline split, a separate lesson file and a player's chapter marker are three different things.
- Keep an untouched source recording and a timestamp map so every lesson can be rebuilt or updated.
- Review the final video, captions and lesson instructions together after editing.
You recorded a complete lesson in one sitting. It contains the setup, two useful demonstrations, a failed attempt and a closing exercise. Now a learner who only needs the second demonstration has to search through the entire recording.
Screen recording for online courses works better when each published lesson has a clear purpose and a recognizable ending. You can record in sections from the start, or turn a longer take into several lessons afterwards.
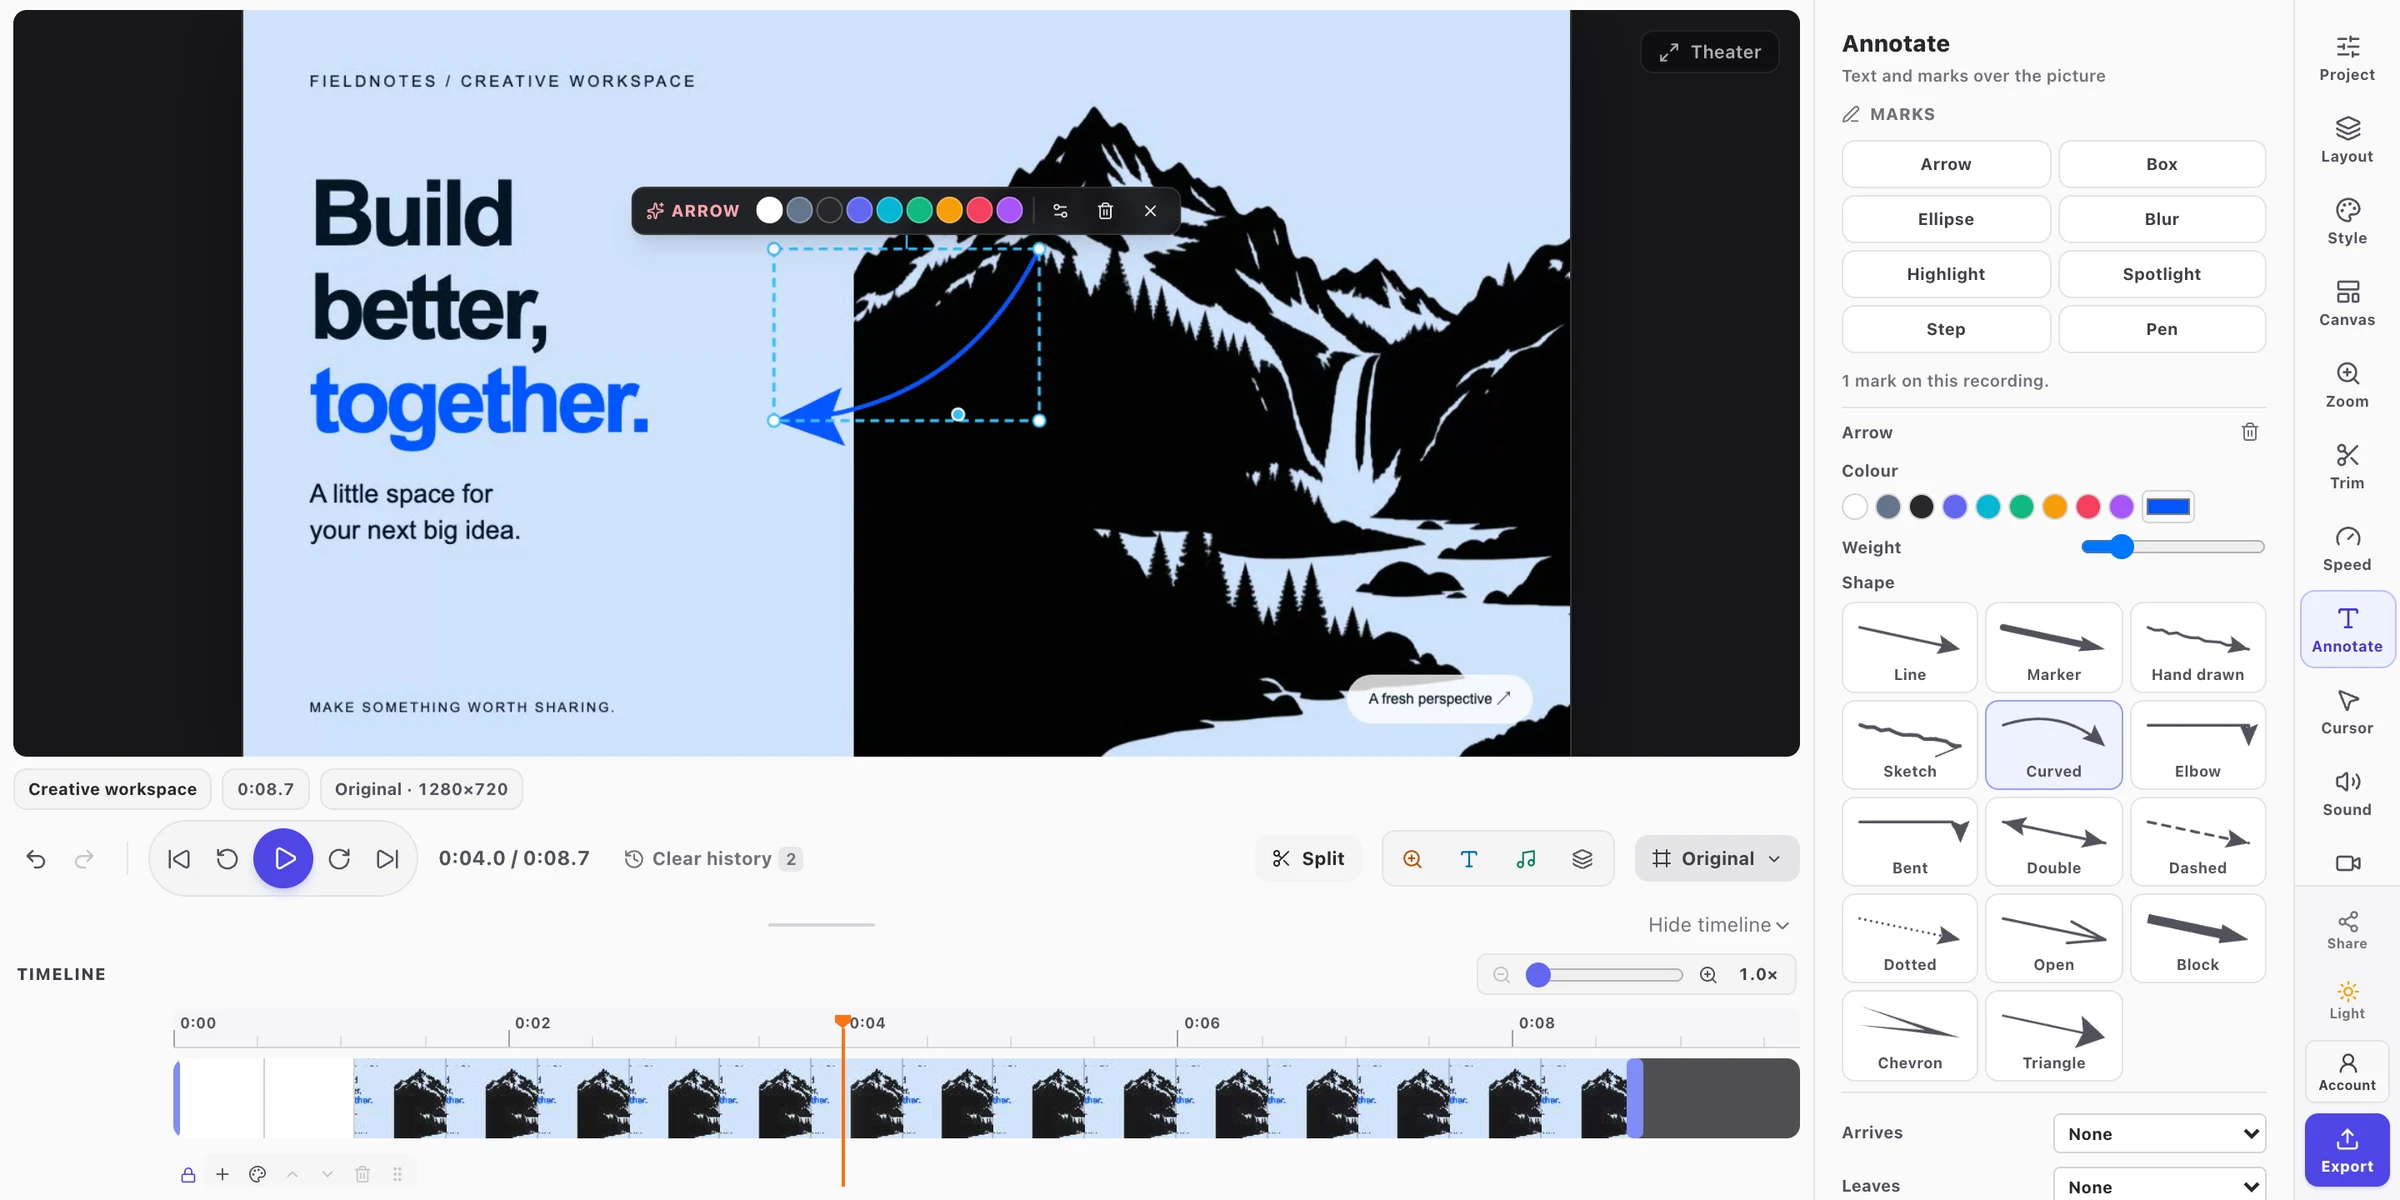
For straightforward software tutorials, FramioCam’s Chrome recorder and built-in video editor cover capture, trimming, timeline cuts, annotations and local export. You can do that work in the same product. Captions and course delivery still need their own checks before students see the lesson.
Decide what “chapters” means for your course
There are three common ways to divide a recording, and choosing the wrong one creates unnecessary editing work.
| What you want | What to create | Where the navigation lives |
|---|---|---|
| Learners complete each lesson separately | One exported video per lesson | Your course platform’s lesson list |
| Learners jump around one longer video | One video plus chapter timestamps | The destination player’s chapter controls, where supported |
| You need to remove mistakes or reorder footage | Split clips on an editing timeline | Inside the editing project |
A split on the timeline does not automatically create a new file or a clickable chapter in a player. FramioCam’s documented Chrome workflow covers cuts and exports; this guide uses manual lesson exports rather than assuming automatic chapter detection or batch export.
If your course platform already handles chapter navigation and you want to keep one continuous lesson, edit the full video first. Add the final timestamps in that platform afterwards. Cuts change timing, so markers copied from the original recording may point to the wrong place.
Plan one learning outcome per lesson
Describe each chapter as something a learner will be able to do. For a fictional project-management course, the outcomes might be:
- Create a project with the required fields.
- Filter the project list and save a useful view.
- Share that view with the appropriate teammates.
“Dashboard overview, part two” tells the learner less about the lesson than “Save a filtered project view.” An outcome also makes it easier to decide what to remove: an unrelated settings tour can become a different lesson.
Columbia University’s teaching guidance recommends short videos organized around single concepts and describes segmenting content for learner control. Use that as a design principle rather than a reason to interrupt an explanation at an arbitrary minute mark. A complete demonstration can need more time than a brief orientation.
For future recordings, pause between sections on a stable screen. Finish the sentence, let the result remain visible and start the next section with a short statement of its purpose. Those pauses become useful edit points.
Build a source timestamp map
Before changing the timeline, watch the raw recording and note the usable sections. The example below describes an imaginary 18-minute take, not a promise about how quickly a real course can be produced.
| Source range | Content | Editing decision |
|---|---|---|
| 00:00–01:10 | Welcome, audio check and navigation | Replace with a brief lesson introduction |
| 01:10–05:20 | Create a project | Keep as lesson 1; remove the repeated attempt |
| 05:20–06:00 | Switch to the next example | Remove from separate lesson exports |
| 06:00–11:40 | Filter and save a view | Keep as lesson 2 |
| 11:40–16:30 | Share the saved view | Keep as lesson 3; check audience permissions |
| 16:30–18:00 | Recap and exercise | Put the relevant task beside each lesson |
Record mistakes within a section separately, for example “lesson 1: repeated name entry at 02:15–02:40.” Keep the original source times even after the edited timeline gets shorter.
Download an untouched copy of the source before editing. FramioCam saves edits against a recording as you work; the original file gives you a reliable way to start a fresh lesson edit without depending on a long undo history. Keep the map next to that file.
Trim and export one lesson at a time
Open a fresh copy of the source in the editor for the lesson you are preparing. Use the chapter map to find its approximate beginning and end, then refine both boundaries while listening.
- Set the start trim just before the first useful sentence and visible action.
- Set the end trim after the final result has remained visible long enough to inspect.
- For an internal mistake, split before and after it, select the unwanted section and use ripple delete to close the gap.
- Play across the join and check both the screen state and the narration.
- Export the lesson with a descriptive filename. For the next lesson, reopen the untouched source and use its original timestamps.
The Trim controls set the outer boundaries; the Clip controls handle cuts inside that range. This manual process repeats for each lesson. A large archive needing automatic segmentation or many simultaneous exports may justify a more specialized workflow.
Avoid cutting away the state that explains the next action. If lesson 2 begins with a saved project already open, tell the learner which project they should have and link back to the setup lesson. A learner arriving directly at lesson 2 still needs a usable starting point.
Remove dead time without removing thinking time
Repeated attempts, an unrelated interruption and a search for the correct tab are usually candidates for removal. Time spent reading a result, comparing two values or explaining a choice can be part of the teaching.
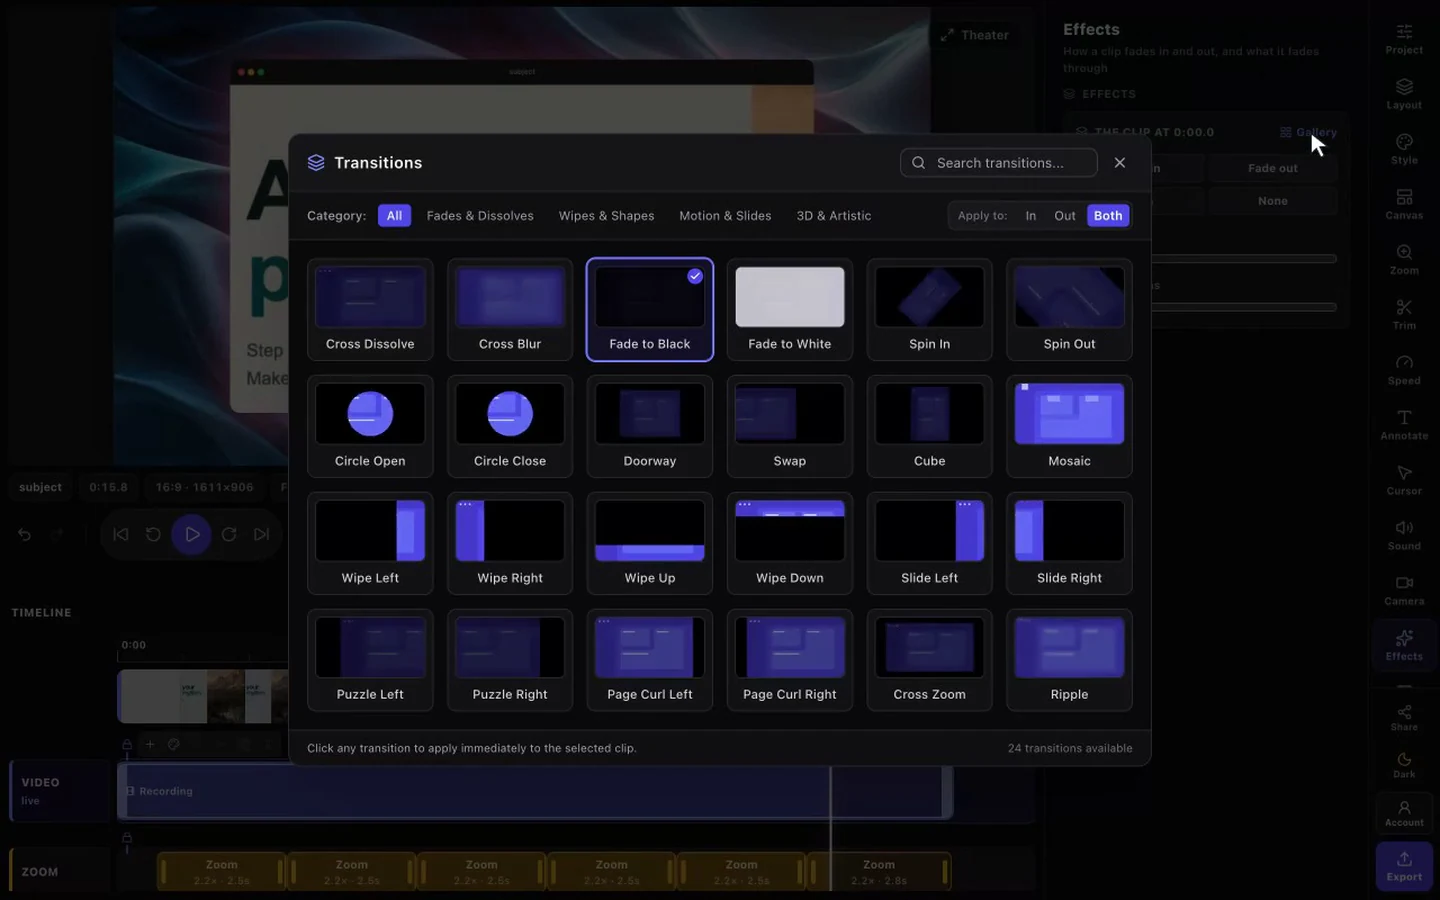
Listen across edits with headphones. A cut that looks clean can swallow the beginning of a word or join two sentences awkwardly. If the necessary explanation is missing, record a short replacement rather than trying to hide the omission with a transition.
Use zooms or timed marks when a control is hard to find. Keep them near the action they explain and check that they do not cover the label. The aim is to make the task followable on the learner’s actual screen.
For a short announcement about the course, use a different edit. The 30-second product walkthrough workflow is suited to a focused preview; the teaching lesson should retain the steps students need to practice.
Add captions and useful lesson text
Correct captions after the lesson edit is final, or verify their timing again after any further cuts. Check technical vocabulary, interface labels, numbers and instructions where a missing word changes the meaning.
W3C’s caption guidance describes synchronized text for speech and meaningful audio, and explains why automatic output needs accuracy review. A few timed text labels in an editor do not replace captions for a narrated lesson. In the Chrome workflow here, use your course platform or a separate captioning process as needed; the native Mac app’s planned transcription is a separate product capability.
Put prerequisites, exercise instructions and important commands beside the lesson as accessible text. A transcript is also useful for reading and searching. W3C’s transcript guidance distinguishes a transcript from synchronized captions and describes including relevant visual information in a descriptive transcript. “Click here” is a weak instruction when the learner cannot see where “here” is; name the control aloud and in the lesson text.
Before publishing, check the captions inside the destination player. Make sure they do not cover a button or result that students need to inspect.
Check export quality and storage
Choose a format accepted by your course platform and available on your device and plan. Open a short test export there before processing the whole course, then check the smallest essential text at normal playback size.
Chrome Free enables video export with a free account, includes unlimited exports up to 720p and puts a FramioCam watermark on Studio exports. Chrome Pro removes that watermark and supports exports up to 4K; see current pricing and allowances. A higher export setting cannot restore detail missing from the source capture. If the interface is unreadable, improve the capture framing or browser zoom for the next recording.
Capturing and editing locally does not publish a lesson or create a backup. Keep the source recording, final lesson files and course text somewhere you control. Upload to the course platform when you are ready to deliver the material. Optional Google Drive sharing and media storage are explained on the privacy page.
A publication check for every lesson
Review the exported file rather than relying only on the editor preview:
- The opening states the task and any prerequisite.
- The first action begins from the stated screen state.
- Every cut preserves understandable narration and a coherent sequence.
- Important labels remain readable at the course player’s normal size.
- Captions match the final audio and timing.
- The lesson ends with a visible result and a specific practice task.
Use filenames such as 02-save-a-filtered-view.mp4, and keep a note of the product version demonstrated. When one feature changes, that record helps you identify the affected lessons and their source material.
FAQ
How do I split a screen recording into course lessons? Map the source timestamps around learning outcomes. Open a fresh copy of the source for each lesson, trim its start and end, remove internal mistakes, then export and review that lesson before moving to the next.
Does splitting a clip create clickable video chapters? No. Timeline splits are editing boundaries. Clickable chapters belong to the destination player’s navigation and need to be added there if supported. Separate lesson files are another option.
How long should a screen-recorded course lesson be? Long enough to teach one outcome with the context and practice instructions it requires. Prefer focused lessons, and split when the learning objective changes rather than stopping mid-explanation to meet an exact duration.
Can I edit course recordings without buying a separate video editor? For straightforward screen tutorials, FramioCam’s Chrome product includes recording and a built-in editor with trim, split, ripple delete and timed annotations. Check export allowances, and plan separately for captioning and course hosting where needed.
Start with one lesson: record the task, edit the explanation and test the exported file in your course platform before preparing the rest.